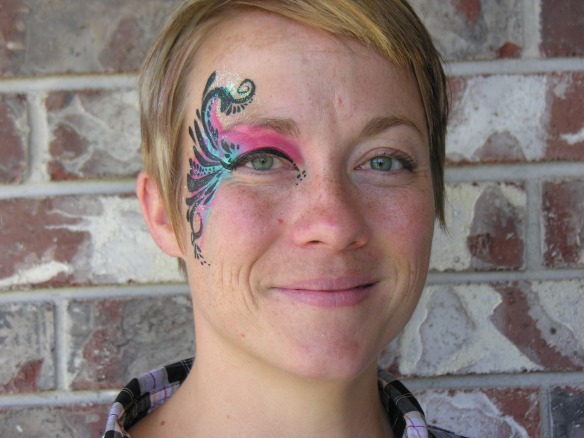
Easter and St. Patrick’s Day Face Painting

20130312-194932.jpg

Since we have two fun holidays coming up, I thought I’d work on some Easter and St. Patrick’s designs today. First, some Easter stuff.

20130312-194743.jpg

20130312-194754.jpg

20130312-194825.jpg

I have to credit for this bunny design to Daizy Design. I’ve mentioned her before. She is amazing! Be sure to check her out.

20130312-194849.jpg

So, that was supposed to be an Easter egg in the middle of her forehead, but I didn’t get the shape right. Oh well.

20130312-194904.jpg

Here is a fun little shamrock tribal. I used glitter, but you could go without for a boy or a man.

20130312-195056.jpg

I also wanted to do a Celtic knot mask, and since I was in the mood, I did a step by step. First, the finished product:

20130312-195250.jpg

Step 1: use a green one stroke cake to make a petal in the middle of the forehead and some frills around the eyes.

20130312-195354.jpg

Step 2: use a gold split cake (this is old gold and copper by tag) to add another layer of petals and some more color on the corners of the eyes.

20130312-195503.jpg

Step 3: come back in with your green to add the final tier of petals.

20130312-195558.jpg

Step 4: Add a Celtic knot as a centerpiece. You can be as simple or elaborate as you want. Since I am painting on myself, I kept it really simple. Paint the knot with dark green or, if you want to skip the next step, black. At this stage, I also added a few dark green teardrops to add depth to the finished design.

20130312-195758.jpg

Step 5: Add outlines, shadows and highlights to the knot to make it stand out. This is what will really make it pop.

20130312-195910.jpg

Step 6: Add teardrops, swirls, dots and other embellishments in black to create the desired shape and look. For a guy, use tribals. Add some white at the end to create a polished look.

20130312-200121.jpg

I’d love to see your takes on this design. Let me know if there a any other step by steps you want to see on the blog.

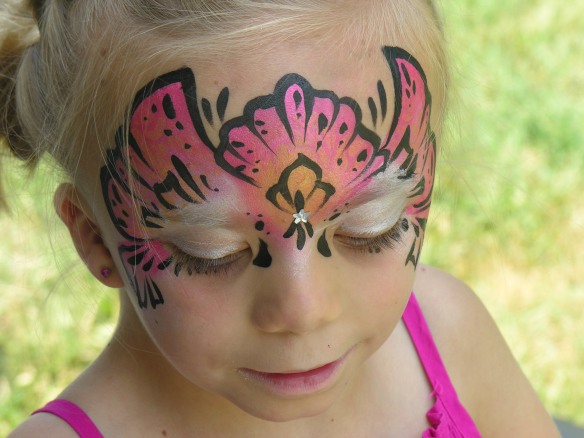
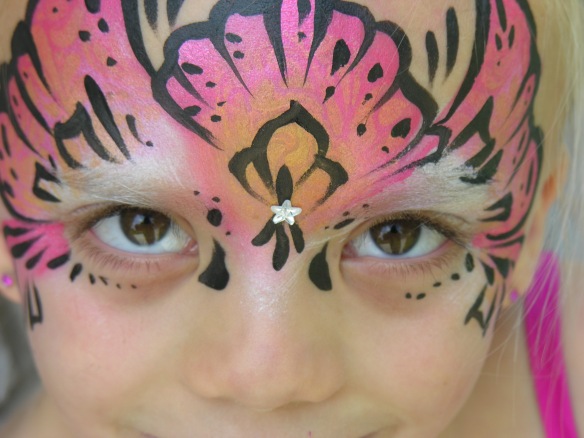
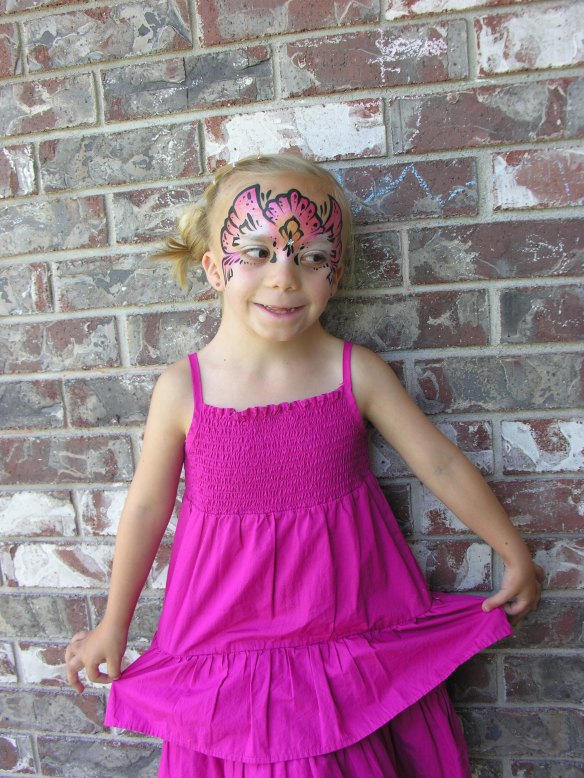
Daizy’s Princess Mask

You can find a step-by-step of this design at Daizy Design. Daizy is amazing and also in New Zealand so I have no qualms about recommending her. 🙂

fairy princess maskbutterfly princess face paintfairy princess face paint

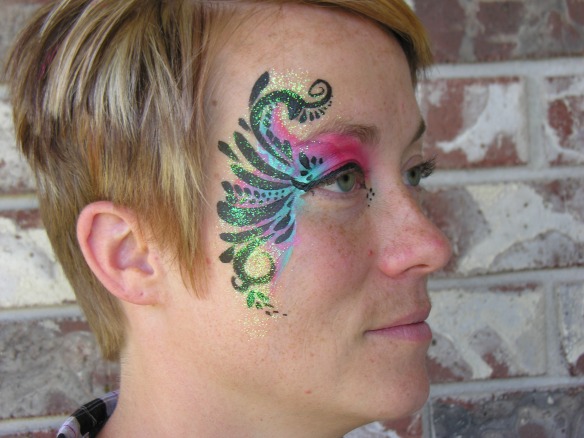
This second design is also one of Daizy’s. She really great at fancy frilly eye stuff.

fancy eye face painteye swirl face paint

Arachnid Fellow: Generic Spider Man Face Paint

So, I’ve got a BIG Spider Man theme event coming up this weekend. My only problem? I don’t paint Spider Man, or any other licensed character for that matter. What a face painting otter to do?

I decided to try and come up with a kind of generic substitute that maintains my integrity while giving the kiddos what they are hankerin’ for. My hubby has christened him “Arachnid Fellow,” though I prefer “Flaming Spider Guy!” Just in case there are any other crazy painters like me out there that don’t paint licensed characters, I decided to make this a step by step to help you out.

I used red Starblends powder for the base, a BAM mini stencil for the flame detail. The white, black, and flame one stroke are all DFX.

This slideshow requires JavaScript.


Winter Face Paint Step by Step 2

Back for more, my little Sugar Plums? Then I shall give you more! This Winter Fairy Mask is lovely and sparkly and fun for kids and adults alike. My sweet niece makes an adorable fairy, doesn’t she?

The fairy before transformation.

winter fairy face paint step 1

Load a sponge with sliver, pearl blue and light blue (or use a splitcake with similar colors) and sponge a mask over eyes, forehead and nose. I used TAG pearl silver and pearl blue with DFX light blue.

Winter fairy face paint step 2

Use a one inch brush and a blue one stroke cake to paint your favorite princess crown design over the mask. I used TAG dolphin one stroke.

Winter Fairy face paint step 3

Use a round number 2 brush to add a large snowflake in the center of the design. Embellish with tear drops, swirls, star bursts and dots in what ever way suites your fancy.

winter fairy face paint step 4

Use a size 0 round to add darker outlines to the design. Don't outline everything--just the edges of some elements. Add glitter and bling to complete the look.

winter fairy face paint

snowflake face paint

Winter Face Paint Step by Steps

Hello Peaches!

This week I have some fun wintery step-by-steps for you. My niece and nephew were in town for the holidays and were kind enough to model for me. (Aren’t you all glad you don’t have to look at my mug anymore?) I have two designs: The Abominable Snowman for boys (and tough girls) and a snow fairy mask for girls (or boys who like bling–including my son).

Yeti Face Paint

The mighty Yeti in his native habitat.

Today I’m posting the Abominable Snowman Face Paint step by step. Stay tuned later in the week for the snow fairy.

My nephew before his transformation.

Abominable Snowman Face Paint Step 1

Sponge light blue around eyes and mouth. Make a wide mouth since we'll be creating teeth out to the side. I used Tag pearl blue.

Abominable Snowman Face Paint Step 2

Sponge white around entire face, blending out the edges of the blue patches. I used DFX essential white.

Create a dark blueish-gray by watering down some dark blue and black. It should be the consistancy of thin water colors. We'll use this for shading. I used DFX dark blue and DFX black.

Abominable Snowman Face Paint Step 3

Using the thinned out color you just made, make wrinkles and lines using a number 2 round brush. Use the same types of lines you would on a monster face (eye wrinkles, brows, mouth, etc.)

Abominable Snowman Face Paint Step 4

Using the same brush and thinned paint, add in furry eyebrows,nose, cheeks and chin. Add some dark blue wrinkles below the eyes. I used DFX dark blue.

Abominable Snowman Face Paint Step 5

Use black to create a dog nose and lips. Add large fangs and teeth around mouth. I used DFX black and white.

Abominable Snowman Face Paint Step 6

Use black to create a muzzle and outline teeth. I used a size 0 round brush. Touch up white on teeth if needed. Add glitter if desired to create an icy effect.

Abominable Snowman and Winter Fairy

Here's a sneak peak out the winter fairy coming later in the week.

Four Elements Mask Face Paint

I’ve been toying with the idea of a mask themed around the four elements–fire, air, water and earth–for a long time. This is my first serious attempt. I thought it turned out pretty cool, and it would be a great mask for a Mother Nature type costume.

Click on the image below to view the step by step.

Four Elements Mask

Iris Mask Step by Step Face Paint

I created this design for a contest over at Face Paint Forum. Iris is the Greek goddess of rainbows and a divine messenger of the gods. She served as the bridge between heaven and earth, and since my son loves rainbows so much, I thought I would make a design to honor her.Iris Mask Rainbow Face Paint

Click on the image below to view a step by step slideshow.
Iris Mask Step by Step

Do you all like step by steps? Should I add more to the blog?